

There's something deeply satisfying about carving your home into the earth in Minecraft. An underground base keeps you hidden from mobs, protects you from the weather, and gives you direct access to mining. Best of all, it can be just as beautiful and functional as any surface build. In this guide, we'll walk you through building a great underground base from scratch — layout, lighting, décor, and all.
Why Build Underground?
Before we dig in (literally), let's look at why underground bases are so popular:
- Natural protection: Bedrock and stone walls block most mob spawns inside your base.
- Resource access: You're already close to ores, caves, and mining routes.
- Stealth factor: On multiplayer servers, an underground base is much harder to find.
- Creative freedom: The earth is your blank canvas — you decide every room and hallway.
Step 1: Choose Your Location
The best spots for underground bases are:
- Under a hill or mountain — You get natural cover and it's easy to carve inward.
- Under your surface house — Adds a secret lower level to an existing build.
- In an extreme hills biome — Great elevation and interesting cave systems nearby.
Avoid building too close to ravines or cave systems you haven't explored — they can cut into your walls unexpectedly.
Step 2: Plan Your Layout
Don't just dig randomly. Sketch out a rough floor plan before swinging your pickaxe. A solid base layout typically includes:
- Entrance room — Your airlock from the surface. Keep it small and defensible.
- Main hall — A central corridor connecting all other rooms.
- Bedroom — Where your bed, personal chests, and armor stand go.
- Storage room — Large room with double chests organized by item type.
- Crafting & smelting room — Crafting tables, furnaces, and a blast furnace.
- Farm room — Indoor wheat, carrot, or potato farm for food.
- Enchanting room — Enchanting table surrounded by bookshelves.
You don't need all of these right away. Start with the essentials and expand over time.
Step 3: Dig It Out
Use a stone pickaxe or better to start carving. Here's a practical approach:
- Dig your entrance tunnel at a 45-degree angle or use a staircase descent.
- At your desired depth (Y=30–50 for safety above lava), begin carving out your main hall — about 5 blocks wide and 4 blocks tall works well.
- Branch off side rooms from the main hall. Make them at least 7×7 blocks each.
- Use torches as you go to prevent mob spawns.
Pro tip: Mine in rows and keep the floor flat. Uneven floors look messy and make navigation annoying.
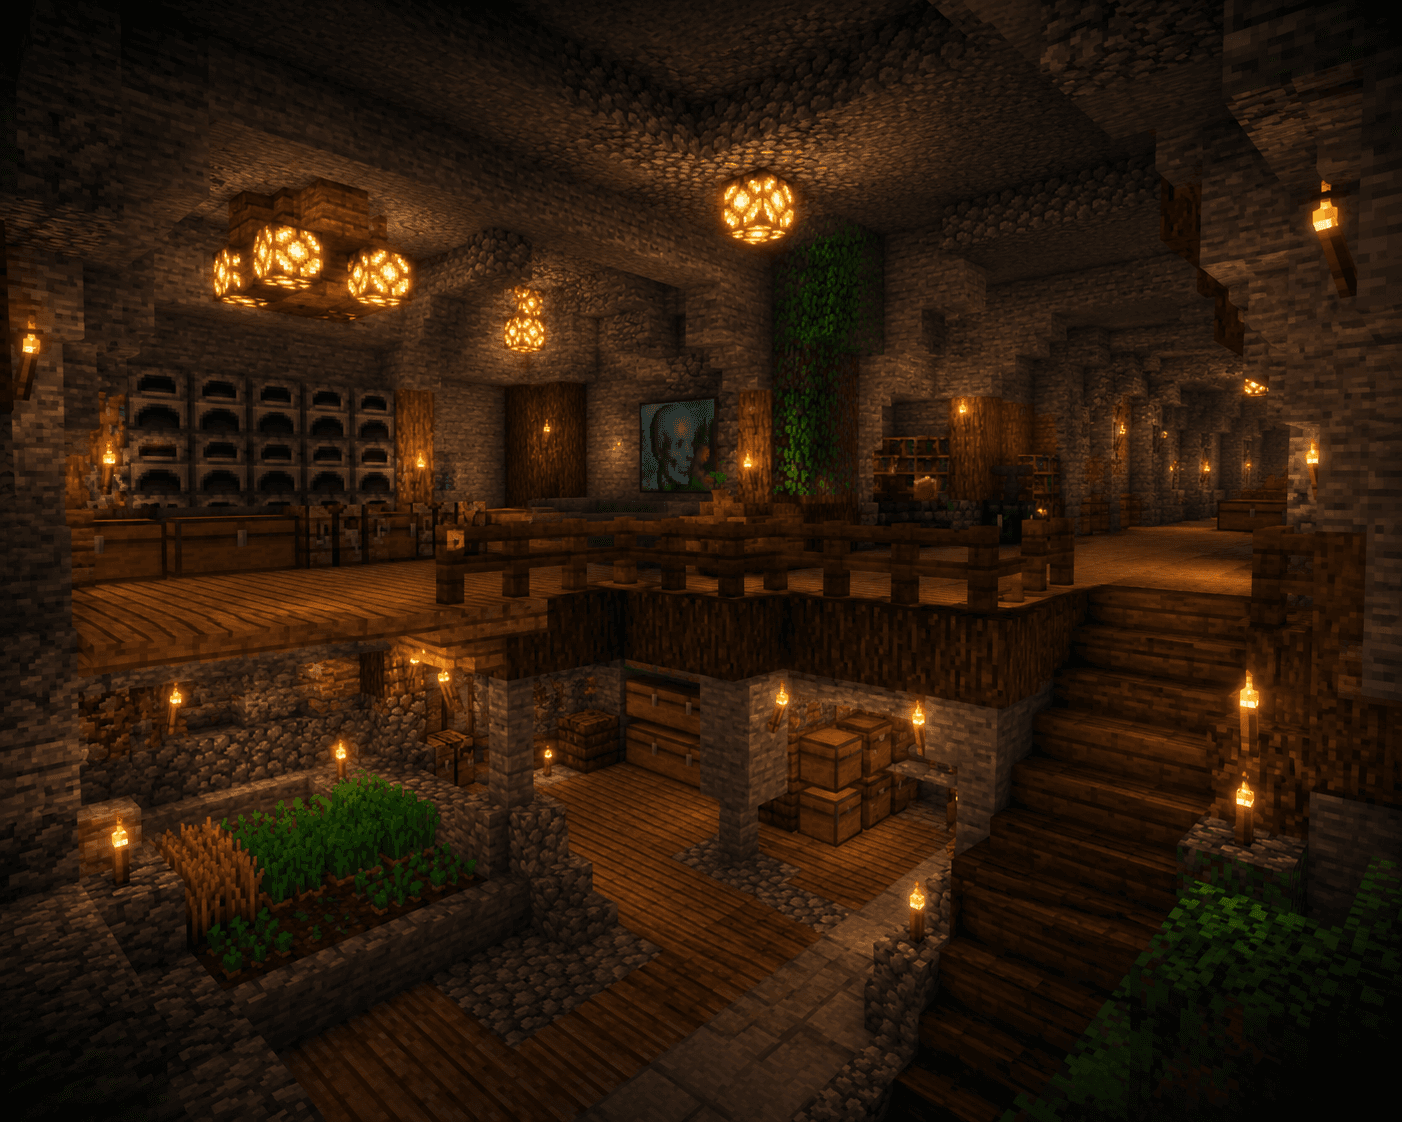
Step 4: Light It Up
Lighting is critical underground. Not just for visibility — every dark corner can spawn skeletons or creepers. Good options:
- Torches — Classic, cheap, and effective. Place one every 8 blocks.
- Lanterns — Brighter and more decorative. Hang them from ceilings with chains.
- Glowstone — Embed them into the floor or ceiling for a seamless look.
- Sea Lanterns — Great for a clean, modern aesthetic.
- Shroomlights — Warm orange glow, perfect for cozy rooms.
Aim for a light level of 8 or higher in every corner to completely prevent spawning.
Step 5: Choose Your Materials
Stone and cobblestone are the default, but they look plain. Upgrade your base with:
- Smooth stone — Polished and clean. Great for walls and floors.
- Stone bricks — Adds texture and depth to walls.
- Oak or spruce planks — Use for floors to make rooms feel warmer.
- Deepslate bricks — Dark and dramatic, perfect for lower-level rooms.
- Chiseled stone — Great for accent walls and decorative panels.
Mix materials to define different rooms. Your storage room can feel industrial (stone bricks) while your bedroom feels cozy (wood floors, lanterns).
Step 6: Furnish Your Rooms
Bedroom
- Bed (any color)
- Armor stand with your gear
- Personal chest with valuables
- Bookshelf for decoration
Storage Room
- Double chests labeled with signs
- Barrels for bulk storage
- Item frames to display rare finds
Crafting Room
- Crafting table
- Two furnaces + one blast furnace + one smoker
- Fuel chest nearby (logs or coal)
Enchanting Room
- Enchanting table in the center
- 15 bookshelves surrounding it (one layer, correctly spaced)
- Lapis lazuli chest within reach
Step 7: Secure Your Entrance
The entrance is your base's biggest vulnerability. Make it secure:
- Use an iron door with a button or lever (zombies can't open iron doors).
- Add a second door a few blocks in as a backup.
- Light up the entrance shaft completely to prevent mobs from sitting outside.
- Consider adding a trapdoor at the top of the entrance tunnel for extra security.
Step 8: Add Personal Touches
This is where underground bases really shine. Some ideas:
- Hidden rooms: Put a painting over a doorway for a secret entrance.
- Window illusions: Use glass panes and sea lanterns to simulate windows.
- Underground garden: Use a skylight shaft with a grass block and flowers.
- Trophy room: Display heads, rare items, and banners from your adventures.
- Map room: Place a large wall map of your explored world.
Common Underground Base Mistakes
Too dark: Always light every corner. One spawnable dark spot will ruin your night.
No food source: Don't rely on surface farming. Build at least a small underground farm.
Forgetting water: Keep water buckets accessible — lava encounters while mining happen fast.
Tunnel confusion: Label your tunnels and corridors. After a few hours, they all look the same.
Final Thoughts
Underground bases reward patience and planning. The more thought you put into the layout early on, the easier it becomes to expand later. Start small, get functional, and then decorate. Before long, you'll have a sprawling underground fortress that's as impressive on the inside as any surface build — and far better protected.
Happy digging!