
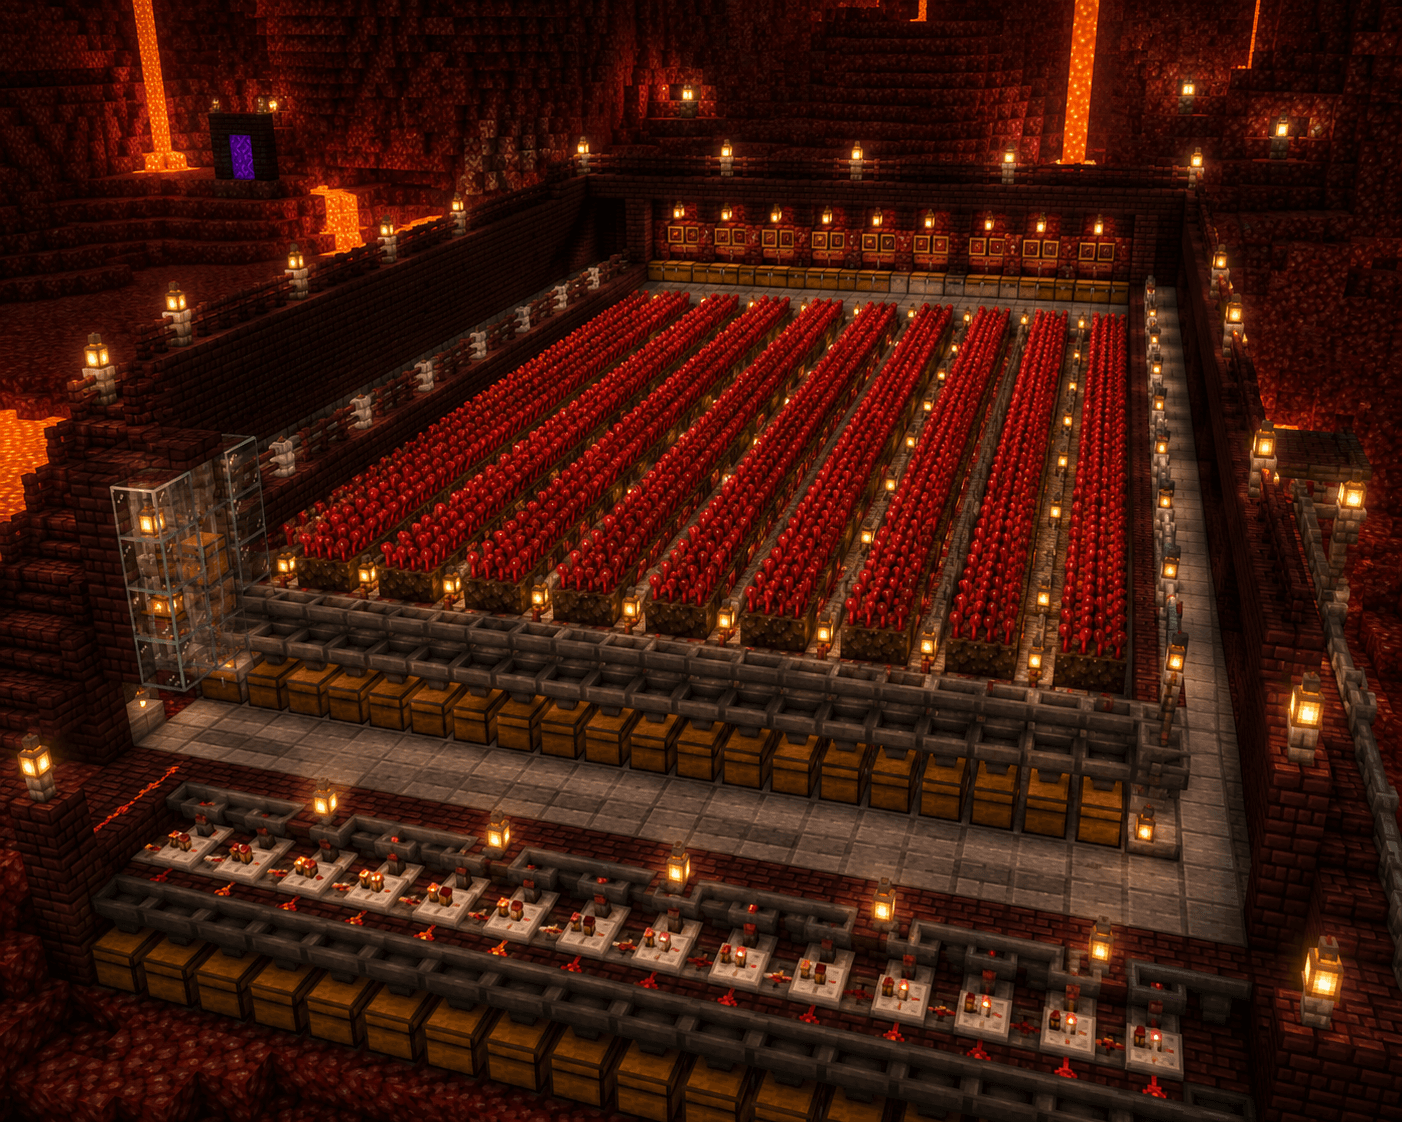

Nether wart is the foundation of almost every useful potion in Minecraft. Without it, you cannot brew Awkward Potions — the base required for strength, speed, fire resistance, healing, and most other potions. A nether wart farm ensures you always have a steady supply, whether you are just starting to brew or running a large potion operation for a raid farm or end-game grinding.
Why Build a Nether Wart Farm?
Nether wart grows slowly and requires Soul Sand to plant — you cannot grow it on regular dirt or other blocks. If you rely on looting nether fortresses every time you need more, you will quickly run out. A dedicated farm gives you:
- Unlimited potions — no more rationing Awkward Potion bases
- Passive income — plant once, harvest repeatedly without returning to the Nether
- Overworld farming — nether wart grows in the Overworld as long as it is planted on Soul Sand (no biome restriction)
This last point is important: you do not need to build in the Nether. You can grow nether wart anywhere.
How Nether Wart Grows
Before building, understand the growth mechanics:
- Nether wart must be planted on Soul Sand — not Soul Soil, not any other block
- It does not require light, water, or bone meal — it grows on its own schedule
- Growth has 3 stages, similar to wheat: Stage 0 (just planted), Stage 1 (medium), Stage 2 (fully grown)
- Harvest at Stage 2 (fully grown) for the best yield — you get 2-4 wart per plant
- Harvesting early (Stage 1) drops only 1 wart and no growth bonus
- Unlike other crops, nether wart does not benefit from Looting or Fortune — the base yield is 2-4 regardless of enchantments
Growth speed is slow compared to other crops. On average, each plant takes 100-120 in-game minutes (about 1 hour 40 min at normal game speed) to reach Stage 2. This is why larger farms with more plants are better — you harvest more per trip even if each plant takes the same time.
Getting Your First Nether Wart
If you do not have nether wart yet:
- Build a Nether Portal
- Find a Nether Fortress — these are the large, dark, bridge-like structures made of Nether Brick
- Inside the fortress, look for staircase gardens — these are open staircase rooms with Soul Sand patches and nether wart growing on them
- Harvest the nether wart (any stage gives you at least 1)
- You only need 4-5 plants to start your farm — plant them, wait for Stage 2, harvest, then replant with the surplus
Nether Fortresses can sometimes be hard to find. They always generate in the Nether in the "fortress bands" that run north-south. Head east or west from your portal if you do not find one within 200 blocks.
Design 1: Simple Manual Farm (Beginner)
This is the easiest possible setup — no redstone, no automation. Just a flat patch of Soul Sand you can harvest by hand.
Materials: 16+ Soul Sand, Nether Wart (16+ plants), Torches (optional)
Build:
- In your base, lay a 4x4 (or larger) patch of Soul Sand on the ground
- Plant one Nether Wart on each Soul Sand block
- Wait for all plants to reach Stage 2
- Harvest by breaking each plant — replant 1 wart in each spot immediately after
Yield: A 4x4 patch (16 plants) yields 32-64 nether wart per harvest cycle. For a casual player, this is more than enough.
Tip: Make the patch wider, not taller — Soul Sand only works on a single layer. A 8x8 patch of 64 plants gives you 128-256 nether wart per cycle, which is enough for hundreds of potions per session.
Design 2: Multi-Level Farm (Intermediate)
Because nether wart does not need light, you can stack multiple farming layers underground and use vertical space efficiently.
Materials: 64+ Soul Sand, Nether Wart, Slabs for walkways, Ladders
Build:
- Dig out a large underground room — at least 16 blocks wide, 3 blocks tall per layer
- Lay Soul Sand across the floor of each level
- Plant nether wart on every Soul Sand block
- Add a half-slab walkway raised 1 block above the Soul Sand rows so you can walk between rows without accidentally trampling plants
- Connect levels with ladders
Yield: A 3-level underground farm with 8x8 plots per level (192 plants) produces 384-768 nether wart per cycle.
This design scales well — just dig deeper and add more levels.
Design 3: Semi-Automatic Harvester (Advanced)
For high-volume potion production, a water-flushed semi-automatic farm speeds up harvesting dramatically.
Concept: Water flowing across a Soul Sand patch knocks all ripe nether wart into a collection point. You only need to manually replant.
Materials: 32+ Soul Sand, Nether Wart, Water source blocks, Hoppers, Chests, Slabs for water channeling
Build:
- Create a sloped floor or use stair blocks so water flows in one direction across the entire platform
- Place Soul Sand across the platform (not on the sloped edges)
- At the downhill end, dig a channel with Hoppers pointing into Chests
- When ready to harvest, place a water source block at the uphill end — water flows across the platform and collects all Stage 2 nether wart
- Use a Dispenser with a Water Bucket triggered by a button to make this one-click
Important: Water on Soul Sand creates Bubble Columns that push items upward — this can cause collected nether wart to float rather than flow into hoppers. Fix this by placing the collection channel at the side of the farm (catching items before they hit Soul Sand) or by using a slightly angled design that avoids putting water directly on Soul Sand.
Where to Build
Overworld: Most convenient for accessibility. Build underground or inside your base. Nether wart grows at the same speed anywhere.
Nether: If you already have a Nether base, growing it here keeps everything close to your brewing setup. The ambient lighting of the Nether is fine — nether wart does not care about light levels.
End: Growing nether wart in The End is possible but unusual — only worth it if you have a large End base setup.
For most players, an overworld underground farm is the best choice: easy access, no Nether danger, integrates with your main storage.
Connecting to a Brewing Setup
The most efficient setup connects your nether wart farm directly to your brewing area:
- Place your Brewing Stands adjacent to or above the hopper collection point
- Use Hoppers to feed nether wart from your collection chests directly into the Brewing Stands
- Store Water Bottles in a barrel beside the stand
- With automatic input, you just load in the secondary ingredients and start the brew
Common Mistakes to Avoid
- Planting on Soul Soil instead of Soul Sand. Only Soul Sand works. Soul Soil looks similar but nether wart will not grow on it.
- Harvesting before Stage 2. Wait until plants look large and bushy (Stage 2). Harvesting at Stage 1 gives only 1 wart and wastes the growth time.
- Not replanting immediately. Nether wart does not replant automatically. Always replant right after harvesting so the next cycle starts immediately.
- Making the farm too small. A 2x2 patch of 4 plants is barely enough for a few potions. Aim for at least 32 plants from the start.
- Forgetting to stock up on Water Bottles. Your potion bottleneck will quickly become glass and water, not nether wart.
Pro Tips
- Keep a stack of nether wart in a barrel next to your farming patch so replanting is instant after harvesting
- Bone meal does not work on nether wart — do not waste it trying
- Build your farm near your blaze rod/blaze powder supply — the other key brewing ingredient — to streamline your potion production workflow
- A single double chest of nether wart (~3,456 plants) is enough for thousands of potions — once you fill it, you have effectively unlimited brewing supply
- Harvest all plants at once and replant all at once — batch harvesting is faster than waiting for individual plants
FAQ
Q: Does nether wart need to be near a Nether Portal to grow? A: No. Nether wart grows anywhere in any dimension as long as it is planted on Soul Sand. A Nether Portal nearby makes no difference.
Q: Can I use Fortune on nether wart for better yields? A: Fortune does not affect nether wart drops. The yield of 2-4 wart per fully grown plant is fixed regardless of enchantments.
Q: How long does Stage 2 take to grow? A: On average, nether wart takes about 100-120 in-game minutes per stage. The exact time is random — growth is checked at random intervals. You cannot speed it up with light, water, or bone meal.
Conclusion
A nether wart farm is one of the most essential support builds in any serious Minecraft survival world. Once you have 32 or more plants growing, you effectively have an unlimited potion supply — just harvest, brew, and replant. The soul sand requirement makes the first harvest cycle the hardest part, but after that, the farm sustains itself indefinitely.
Build the simple manual design first, then upgrade to a semi-automatic flushing farm as your base grows and your potion demand increases.