
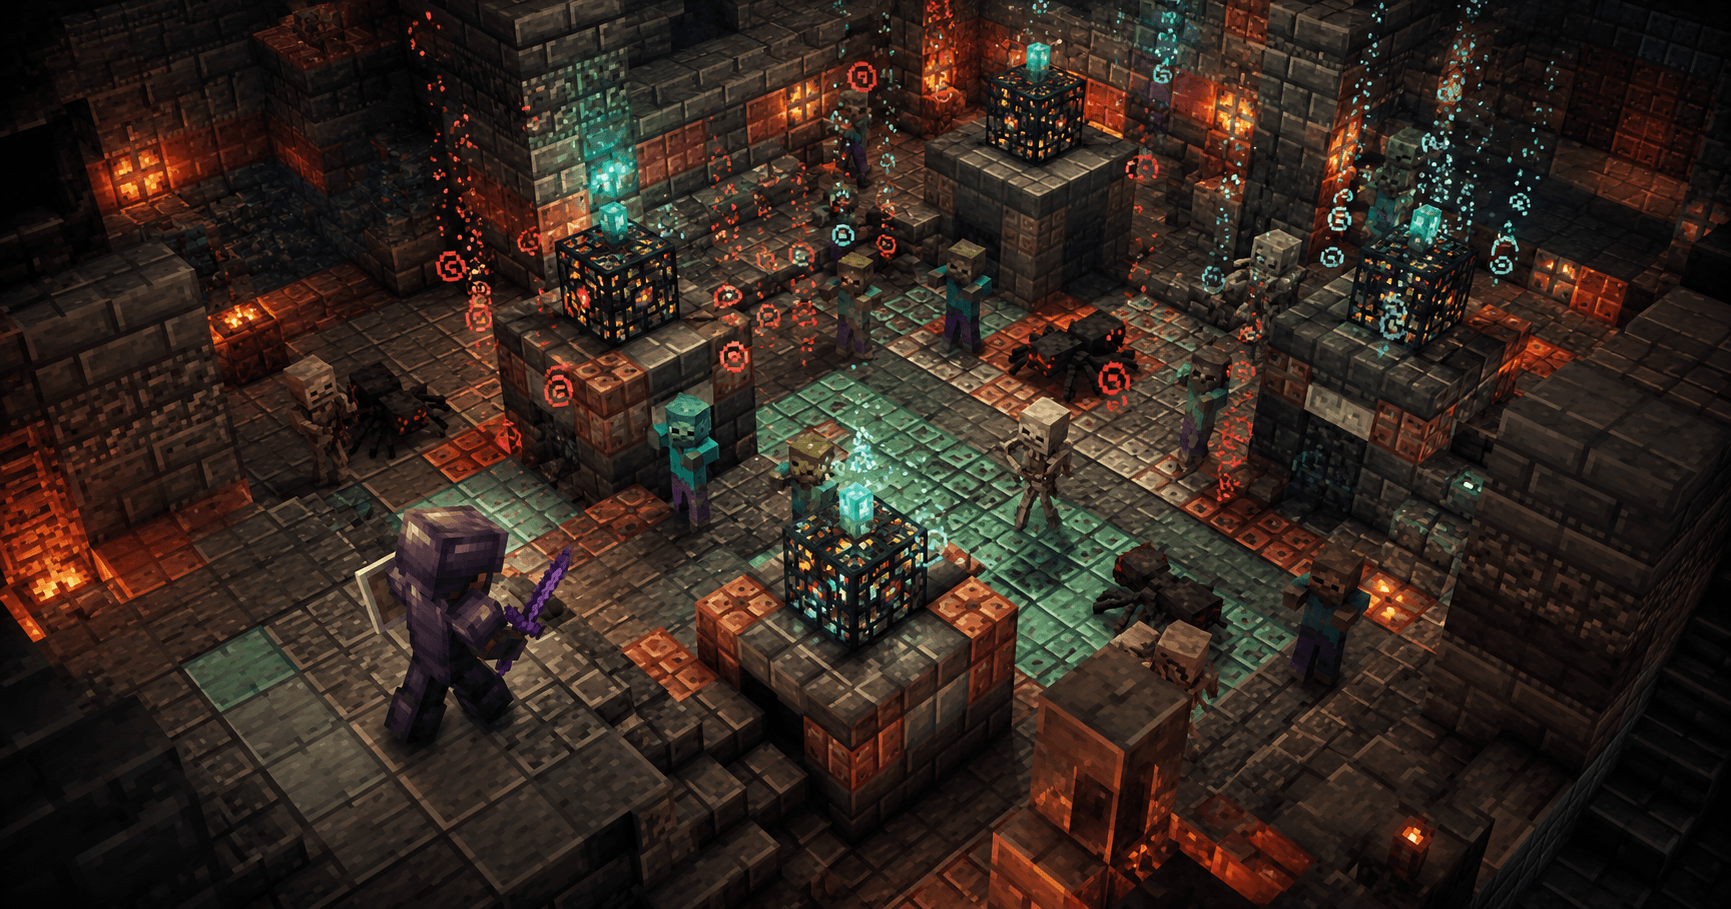

Trial Chambers arrived in Minecraft 1.21 and immediately became the most dangerous exploration content outside the End. Unlike normal caves, everything in Trial Chambers is designed to push you into combat—hostile mobs spawn in waves, environmental hazards trigger on touch, and the loot is gated behind surviving encounters.
The difference between dying repeatedly and walking out with ominous bottles comes down to understanding how Trial Spawners work, recognizing which mobs you'll face, and building a loadout that handles multiple enemies at once.
What Are Trial Chambers?
Trial Chambers are underground structures found in deep cave systems, typically between Y-40 and Y-0. They replace some traditional cave formations and are identifiable by their polished deepslate architecture, trial spawners, and heavy concentrations of hostile mobs.
The core mechanic is the Trial Spawner. Unlike regular spawners, these don't spawn infinitely. They spawn in waves when you enter their detection radius. The more players present, the more mobs spawn—solo play might trigger 2 mobs, while a group triggers 5+. Once you survive a wave, the spawner goes dormant briefly before the next wave.
This creates natural difficulty scaling. Solo players face manageable mob counts. Groups face harder encounters. The structure adapts.
Trial Spawner Mechanics (The Real Danger)
Here's what makes Trial Chambers actually dangerous:
Mob waves: The spawner detects nearby players and triggers mobs. These spawn inside the trial chamber itself, not elsewhere. You can't cheese them by staying outside.
Wave scaling: Wave 1 might be 2 zombies. Wave 2 might be a zombie + skeleton. Wave 3 might be 2 skeletons + 1 cave spider. Difficulty ramps.
Duration matters: Spawn waves continue as long as players are nearby. Leave, and spawners reset. This means you can't just run away mid-fight—you either survive or retreat completely.
Mob persistence: Mobs spawned by trial spawners have higher health than normal versions. A standard zombie has 20 HP. A trial chamber zombie has around 24 HP. Skeletons hit slightly harder. This forces better gear.
Environmental traps: The chambers themselves have hazards. Pistons crush blocks. Hoppers move items. Dispensers fire arrows. These are triggered by your movement, not hostility.
Mobs You'll Actually Face
Trial Chambers spawn a specific set of hostile mobs. You won't face Endermen or Witches here—it's a curated difficulty.
Zombies (Most common): Slower but tanky. They hit harder than overworld zombies. Bring a sword, not a bow.
Skeletons: The real threat. They shoot from distance and have better accuracy than usual. Bring a shield or close the gap fast. One skeleton is fine. Three skeletons at once means you're probably taking damage.
Cave Spiders: Poison is deadly here because you can't heal easily mid-fight. Bring slow-falling potions or avoid melee with them.
Slimes (Medium/Large): Not as dangerous as skeletons but harder to one-shot. They split into smaller pieces and swarm you.
Silverfish: Spawning from blocks. Rare but annoying when combined with other mobs.
Creepers: Less common but possible. One creeper mid-skeleton-fight ruins your day.
You won't see Witches, Guardians, Endermen, or Blazes. Trial Chambers focus on hand-to-hand combat scenarios, not special mechanics.
Loot Inside Trial Chambers
This is why you came. Trial Chambers have unique drops and access to rare items.
Ominous Bottles (NEW): Drop from trial spawners when you clear a wave. These apply Ominous effect, which causes raids to spawn with extra difficulty. Not always valuable, but high-tier players farm these.
Trial Keys (Rare): Open vault blocks. These are the real treasure—they contain top-tier enchantment books, diamonds, and ancient items.
Wind Charges: Throwable projectiles that push you. Essential for speedrunners and parkour players. Drop commonly.
Enchanted Books: Mending, Unbreaking III, Efficiency V all found here. These books are otherwise rare.
Diamonds/Emeralds: Raw currency in Trial Chambers. You'll see stacks of 2-5.
Copper/Raw Ores: Bulk materials for building.
Potions: Regeneration, Resistance, Strength—all buffing potions appear as loot.
The real value comes from trial keys and enchanted books. A single Mending book is worth the entire run.
Loadout For Survival (Not Speedrunning)
You need gear that handles group combat, not solo encounters.
Armor: Iron minimum. Diamond preferred. Netherite if you have it. Protection IV on chest and pants. Thorns isn't worth it—you'll still take damage and lose durability.
Weapons: Iron sword minimum. Sharpness helps but isn't required. Bring a bow for kiting skeletons away from zombie clumps. Arrows are cheaper than sword durability.
Shield: Non-negotiable. This blocks 100% of arrow damage when raised. One shield carries you through every skeleton encounter.
Food: Bring more than you think. Cooked meat, bread, gapples if possible. You'll need healing between waves.
Potions (Optional but strong):
- Strength II (adds damage, tipping fights in your favor)
- Resistance II (mitigates damage from environmental hazards)
- Speed (escape tool if surrounded)
Utility: Water bucket (falling damage negation), torches (navigation), blocks (escape routes).
Skip the boots with feather falling. You won't fall; you'll get surrounded. Prioritize offense and defense.
Step-by-Step Strategy
Before entering:
- Gear up fully. No naked exploring.
- Know where the exit is. Mark it with torches immediately.
- Enter solo if possible. Group difficulty spikes fast.
On first spawn wave:
- Don't panic-attack. Watch the mobs spawn.
- Back against a wall (prevents flanking).
- Identify the ranged mobs first (skeletons). Shield the arrows, sword the zombies.
- Isolate one mob at a time. Don't fight the whole wave simultaneously.
Between waves:
- Heal immediately. Don't wait for next wave.
- Reposition. Move away from environmental hazards.
- Scan for trial keys or ominous bottles. Grab them if safe.
If surrounded:
- Raise shield. Reduce incoming damage.
- Sprint-jump away (costs hunger but creates space).
- If shield breaks mid-fight, back away and let it recharge (durability resets after 5 seconds of not blocking).
Exiting: Once you've taken loot and collected ominous bottles, leave. Trial spawners don't have an "end condition"—you define when the encounter is over.
Common Mistakes That Get You Killed
Mistake 1: Underestimating mob count. You'll see 2 skeletons and think it's manageable. Wave 2 adds a third. You panic and take 3 arrows to the face. Assume waves will be harder than they are.
Mistake 2: No shield. Arrows kill you faster than swords do. Shield is not optional; it's essential.
Mistake 3: Fighting in the open. Use pillars and walls. Force mobs into single-file lines. This prevents being circled.
Mistake 4: Waiting too long between waves. The longer you stay, the harder it gets. Collect loot, heal, and leave. Don't farm indefinitely unless you're confident.
Mistake 5: Ignoring environmental hazards. Pistons will crush you. Dispensers will shoot you. Learn the chamber layout before engaging mobs.
Trial Chambers: Java vs Bedrock
Java and Bedrock have identical Trial Chamber mechanics as of 1.21. Spawn rates, mob behavior, and loot are the same. The only difference is Bedrock's slightly higher baseline mob damage, making shield usage even more critical.
FAQ
Q: Can I cheese Trial Chambers with beds? A: No. Explosions don't damage mobs inside trial spawners—they're protected.
Q: Are trial keys renewable? A: No. Once you use a key to open a vault, it's consumed. You get one key per vault block cleared.
Q: Can I farm ominous bottles infinitely? A: Yes, technically. Each wave drops a bottle. You can run waves repeatedly without leaving. But each new wave is harder. Eventually you'll die.
Q: What's the fastest way through? A: Speedrunners skip loot entirely and beeline to the exit. They don't clear waves; they avoid spawners. This isn't survival—it's parkour.
Q: Should I bring netherite gear? A: Not necessary. Iron + shield + food carries you through. Netherite is overkill and wastes resources.
Q: Are Trial Chambers renewable? A: Each chamber spawns once per world. Once cleared, that specific chamber won't respawn.
Final Thoughts
Trial Chambers aren't harder than the Nether or End—they're just different. They force group combat instead of boss fights. They reward preparation and positioning over raw gear.
Your first clear will probably involve dying. That's okay. Learn the mob spawns, practice kiting skeletons, and come back with better gear. By your third run, Trial Chambers feel routine.
The real value isn't the loot—it's learning that combat encounters have rhythm. Mob spawns follow patterns. Waves escalate predictably. Once you see the pattern, you stop panicking and start fighting.
That's when Trial Chambers stop being dangerous and start being profitable.